Start building a pre-order and Try Before You Buy (TBYB) app
You're ready to create a new app that helps merchants create pre-order or TBYB options. To get started, you'll set up the foundation of your app.
To build a pre-order or TBYB app, you want to set up required access scopes and pages for the app. You want to have the following pages on the app:
- A page where merchants can create a pre-order or TBYB option
- A homepage where merchants can view a list of the pre-order or TBYB options that they created
Anchor to What you'll learnWhat you'll learn
In this tutorial, you'll learn how to do the following tasks:
- Set up required access scopes
- Create an app page
- Add navigation for app pages
- Add the empty state and title bar components to the homepage
Anchor to RequirementsRequirements
- Most subscriptions, pre-order and try before you buy apps need to request API access through the Partner Dashboard. We give API access to apps that are designed according to our principles for subscriptions, pre-order and TBYB apps.
- Public apps that use subscriptions, pre-order or TBYB need to meet specific requirements to be published on the Shopify App Store.
- Custom apps created in the Shopify admin can't use subscriptions, pre-order or TBYB because these apps can't use extensions or request access to protected scopes. If you're building a solution for a single store, then build your custom app in the Partner Dashboard.
- Most subscriptions, pre-order and try before you buy apps need to request API access through the Partner Dashboard. We give API access to apps that are designed according to our principles for subscriptions, pre-order and TBYB apps.
- Public apps that use subscriptions, pre-order or TBYB need to meet specific requirements to be published on the Shopify App Store.
- Custom apps created in the Shopify admin can't use subscriptions, pre-order or TBYB because these apps can't use extensions or request access to protected scopes. If you're building a solution for a single store, then build your custom app in the Partner Dashboard.
- Complete the tutorial to scaffold an app and set up your development environment.
- Complete the tutorials to create pre-order and TBYB (try before you buy) options and manage delivery profiles.
Anchor to Step 1: Set up required access scopesStep 1: Set up required access scopes
Your app requires the following access scopes:
write_productswrite_customerswrite_draft_orderswrite_purchase_options
-
Navigate your app directory.
-
In the
shopify.app.tomlfile, add the access scopes.
shopify.app.toml
Update the navigation links in the app/routes/app.jsx file. For more information on routing refer to the app nav component in the App Bridge Library web components.
- In
app/routes/app.jsx, replace the content with the following code:
app/routes/app.jsx
Anchor to Step 3: Update App Home pageStep 3: Update App Home page
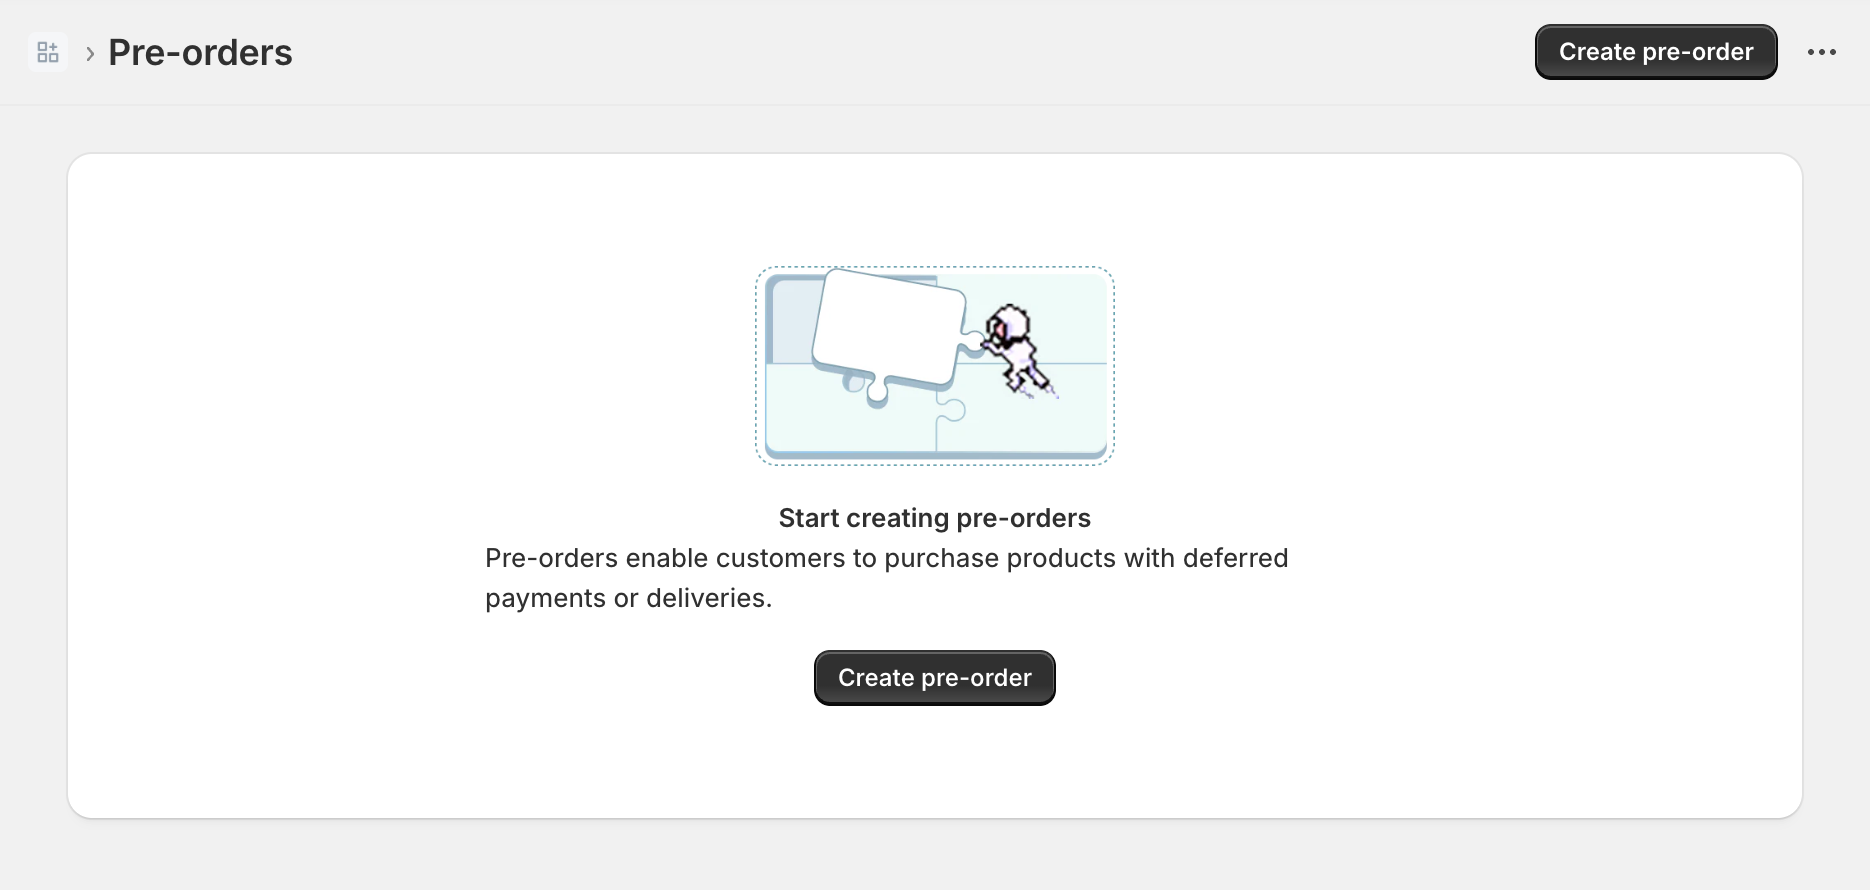
Now that you've set up your app pages, you can use Polaris to build the user interface. You'll add the following components to the app._index.jsx file:
- An empty state pattern is used to display the empty state before merchant can view their pre-order or TBYB options.
- The page component is used to show button actions to create pre-order or TBYB options.
In app/routes/app._index.jsx, replace the content with the following code:
app/routes/app._index.jsx
Your app's homepage displays the empty state and the title bar: